Friday, August 19, 2011

Amelia's Quilt Pillowcase

I almost forgot. I did make a pillowcase to match Amelia's quilt and I've since learnt that she loves it so much that it's turned into a traveller, ie if she hops into mummy's bed, pillow comes too. So cute.


I used raw edge applique for the heart and butterfly and hand stitched the antenae.

Saturday, August 6, 2011

And finally...Amelia's Quilt

Next Steph and I pieced the backing using fabrics from the flowers, hearts and butterflies and arranged in an off-centre cross.


I then sandwiched the quilt using cotton batting, basted it with thread and quilted it with an all over loop and heart design.


So as to not detract from the quilt I used the same pale pink background fabric for the binding which I machine sewed on and then Steph and I hand sewed to finish it. And I think I've dragged this out long enough...here it is.


Thursday, August 4, 2011

Our market debut that didn't

We said from the start that we'd be honest so how did our first market go? Well, it didn't. We felt in the end that we wouldn't have enough stock to display and Amelia's quilt took up a lot of time which could have been spent sewing other items. In the end we would have been sorely disappointed anyway had we busted our butts to get there as the organiser hadn't done much advertising so hardly anyone knew the market was on and many stall holders packed up halfway through the market which was a real shame.

So in this one case it may have been to our favour to miss this opportunity as it made us reassess where we want this business to go and what we want out of it. We always said that if it felt like a chore then it wasn't worth doing and this market definitely fell into that category.

As it stands right now, Steph has done a brilliant job sewing all the play placemat sets which are ready for sale and are waiting for me to put them in our etsy store. I'm hesitating (read: procrastinating) over postage costs as I want to charge only what it would cost to send yet Australia Post's online calculator is a pain to use. Keeps quoting me ridiculous amounts so it looks like I'll have to get down to the post office for a quote. And I've completed only 2 aprons - the rest are waiting for assembly. When I get my sewing mojo back the rest will sew up quickly.

In the meantime life goes on and we do what we can when we can.

Tuesday, August 2, 2011

I knew I forgot something

I found my way back finally. Sorry, how rude of me to not finish the reveal. I can fix that...

Trapunto.

I basted small off-cut pieces of batting behind each flower - I found it easier to baste with thread rather than pins so it was guaranteed to lay flat and smooth

and then free motion stitched a line close to the edges of the petals (aka raw edge applique) and also in the centre of the flowers. I stitched a spiral here but other flowers had hearts or pebbles stitched in the centre.

I then flipped the quilt top over and carefully cut away the excess batting as close to the line of stitching as I dared without cutting into the fabric.

I did the same for each heart and butterfly except for the three large hearts which were attached by needle-turn appliqued and have 2 layers of batting behind them for the trapunto. These were stitched close to the edge on the background fabric rather than on the applique fabric and I was really happy how they appeared to pop out of the quilt. I also used needle-turn applique to attach the caterpillar segments and added 2 layers of batting for the trapunto there too.

Then to finish off the butterflies I hand stitched the antenna with chain stitch, backstitch or stem stitch. The one above was done with chain stitch.

Tuesday, June 28, 2011

Slowly coming together


Isn't this a gorgeous font for Amelia's name? I thought so too and then found out that it's actually Liz's, Amelia's mum, normal handwriting. I scaled it up from the quilt draft that Liz and I put together and transfered it to the paper side of fusible webbing (in reverse) before ironing it to the chosen fabric, a hot pink squiggle from Spotlight. Here it is laid out to check placement before finally ironing it onto the quilt front.


Whenever I wasn't able to spread out and take over my dinner table or living room floor, I worked on the caterpillar pieces that needed hand sewing.


I drew on the caterpillars legs with my water erasable Clover pen


and then fused on little ovals of black velvet for the feet. Later I will free motion stitch the leg line and around the raw edges of the foot with matching black thread.

Next onto the flower vine. I drew in the vinework and pinned in templates of all the leaves.


Then I fussy cut all the leaves from 3 different fabrics and roughly cut them out before pinning them in place. Again I wanted to see them all in place before committing to ironing everything permanently.


Once all the leaves were ironed on I stitched in the vine lines and secured all the leaves by sewing around all the edges.

Sunday, June 26, 2011

Construction begins

It begins with templates - a LOT of templates. I drafted lots of flowers, butterflies and hearts in varying sizes on paper and then made cardboard templates of each one.


I also made a number of photocopies of the shapes which I roughly cut out and used to help with placement of them on the quilt.


While I could have simply ironed the fabric to the fusible webbing for most of the shapes without first having an idea where they'd wind up in the quilt, I found it was really important to plan carefully with the caterpillar and surrounding flowers, particularly since they had to fit in a tighter formation and because I would have stitching connecting all the flowers and leaves.


I pinned all my paper shapes in place and then hung the quilt front from my curtain tracks to create an oversized design board.

I traced all the shapes in reverse onto the paper side of fusible webbing and roughly cut them out outside the lines. Next I used my cardboard templates so that I could visualise how the final shape would look, in particular the butterflies and flowers, before ironing the fusible webbing in place.


As I each fabric was selected, fused and fussy cut, it was pinned in place on the quilt front so that I could step back and look at the quilt from a distance to check that the colours weren't bunched or if this area needed more pink or purple to balance things. It was only after all the pieces were in place that they were ironed on.

Friday, June 17, 2011

Pink and purple explosion

It's been pedal to the metal here for the last month constructing Amelia's King Single bed quilt so to catch up...


...the custom made apron was a big hit with little Amelia


and then there was an explosion of pink and purple as well as some textured coloured fabrics for the caterpillar, as I collected fabrics for her King Single quilt.


The main fabric for the front and back was a pale pink homespun from Lincraft (bottom of the left pile). The right pile of various quilting weight cotton fabrics made up the hearts, butterflies, flowers and vine leaves that were appliqued on (sourced from Fabric Shack, eQuilter and my own stash). The textured caterpillar was made of (left pile, from top to bottom) gold metal trim on a yellow marble cotton print, orange gathered organza trim on orange homespun, lilac crystal organza with a pink poplin base, royal purple long-haired chiffon with a purple homespun base (not shown), spotted emerald green tulle with a green homespun base, pink soft tulle with hot pink sequins on a hot pink homespun base, and blue crushed velvet (all from Spotlight or Lincraft).

Saturday, May 28, 2011

Miniature place mats, coasters and napkins continued ...

Its been a while since our last post, but boy have we been busy little bees! Where to being? ...

I completed the miniature napkins that are part of the miniature place mats, coasters and napkins. It took a little time at the beginning getting each napkin prepared for sewing as there was a bit of cutting, folding, ironing, more folding and pinning before the napkin got anywhere near the sewing machine. Slowly I got myself into a routine with it all and started churning the finished products out.


Im actually really chuffed at myself with regards to how they turned out and without further adieu I now present a selected few finish products .... drum roll please.


 S

Tuesday, April 26, 2011

First step - how did we do it?

It occurred to me when I wrote the last post that I should include HOW we got our first commission. After all this is supposed to be a full disclosure blog on our successes and failures at starting our business.

You often hear that the first sale is usually made to someone they knew - friend, family, work colleague, etc, and that was exactly the case here. It starts with talk. Talking about what we're doing with the people we know. Steph took some of the Tea Party Placemats into work that she's been making for our first market in June to show her workmates as they'd been talking about it. One of them asked "so, what else do you make?" to which Steph showed her 
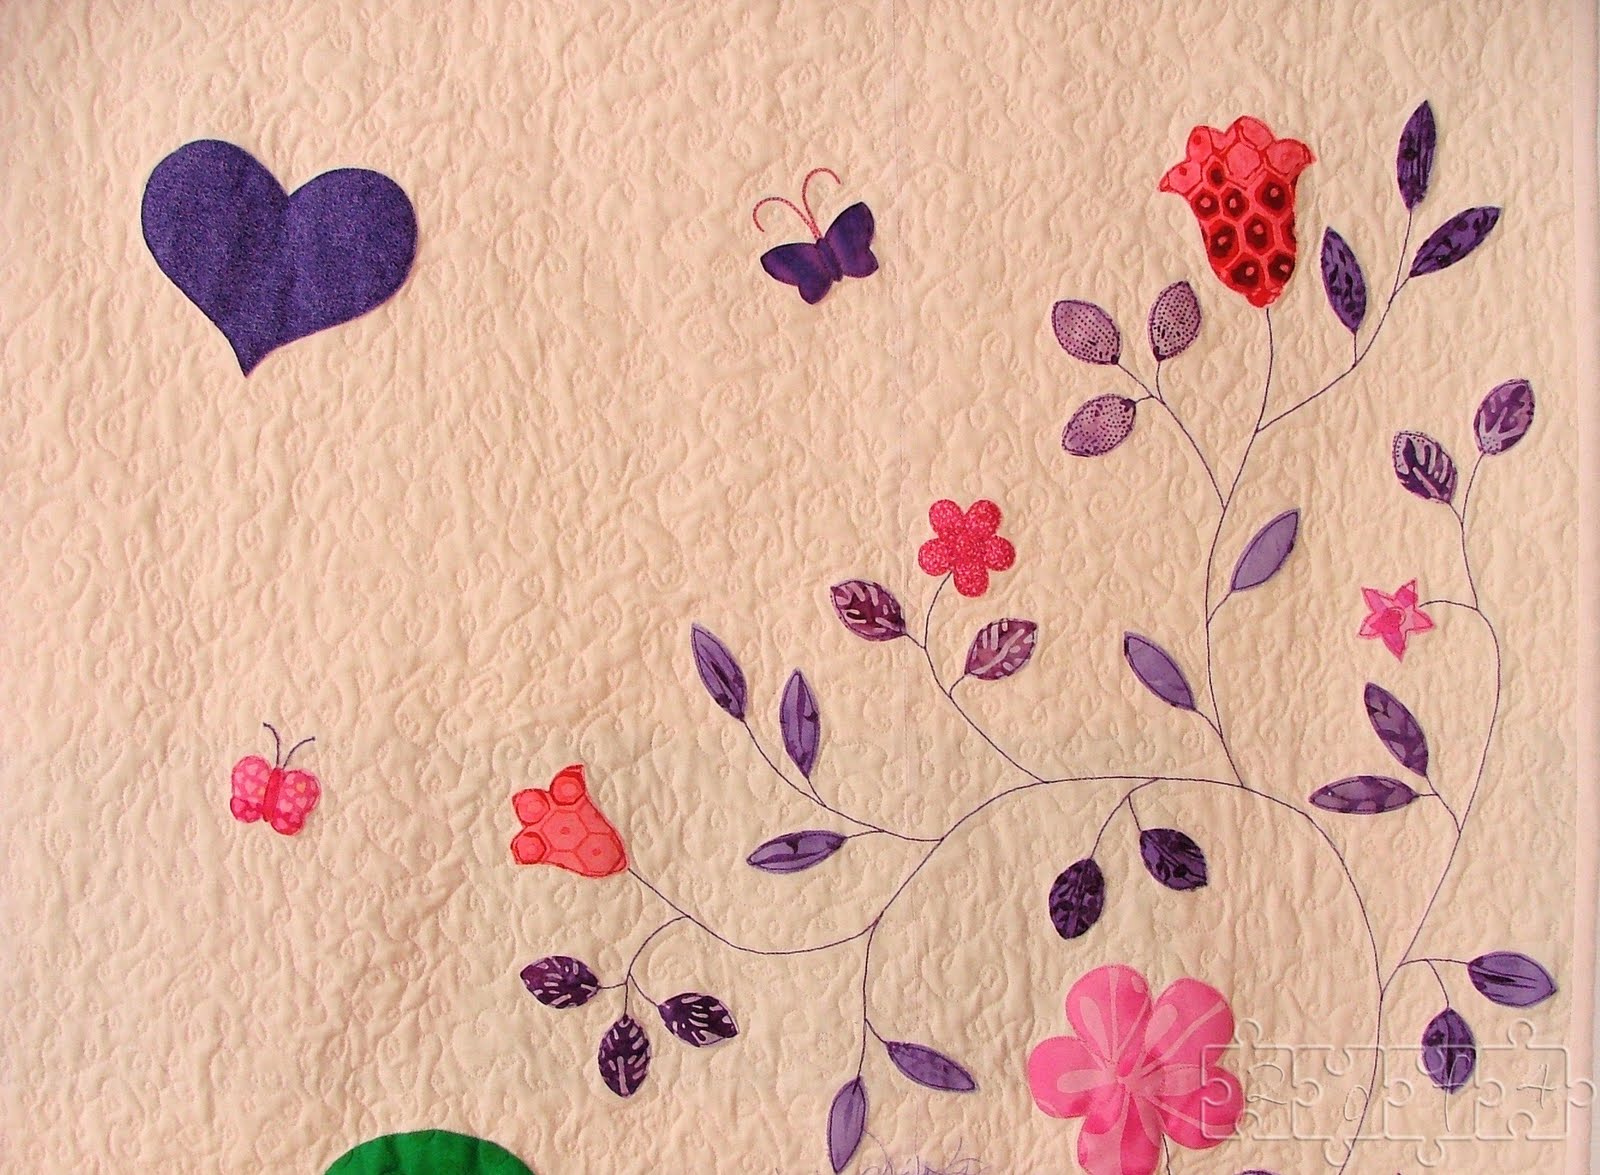
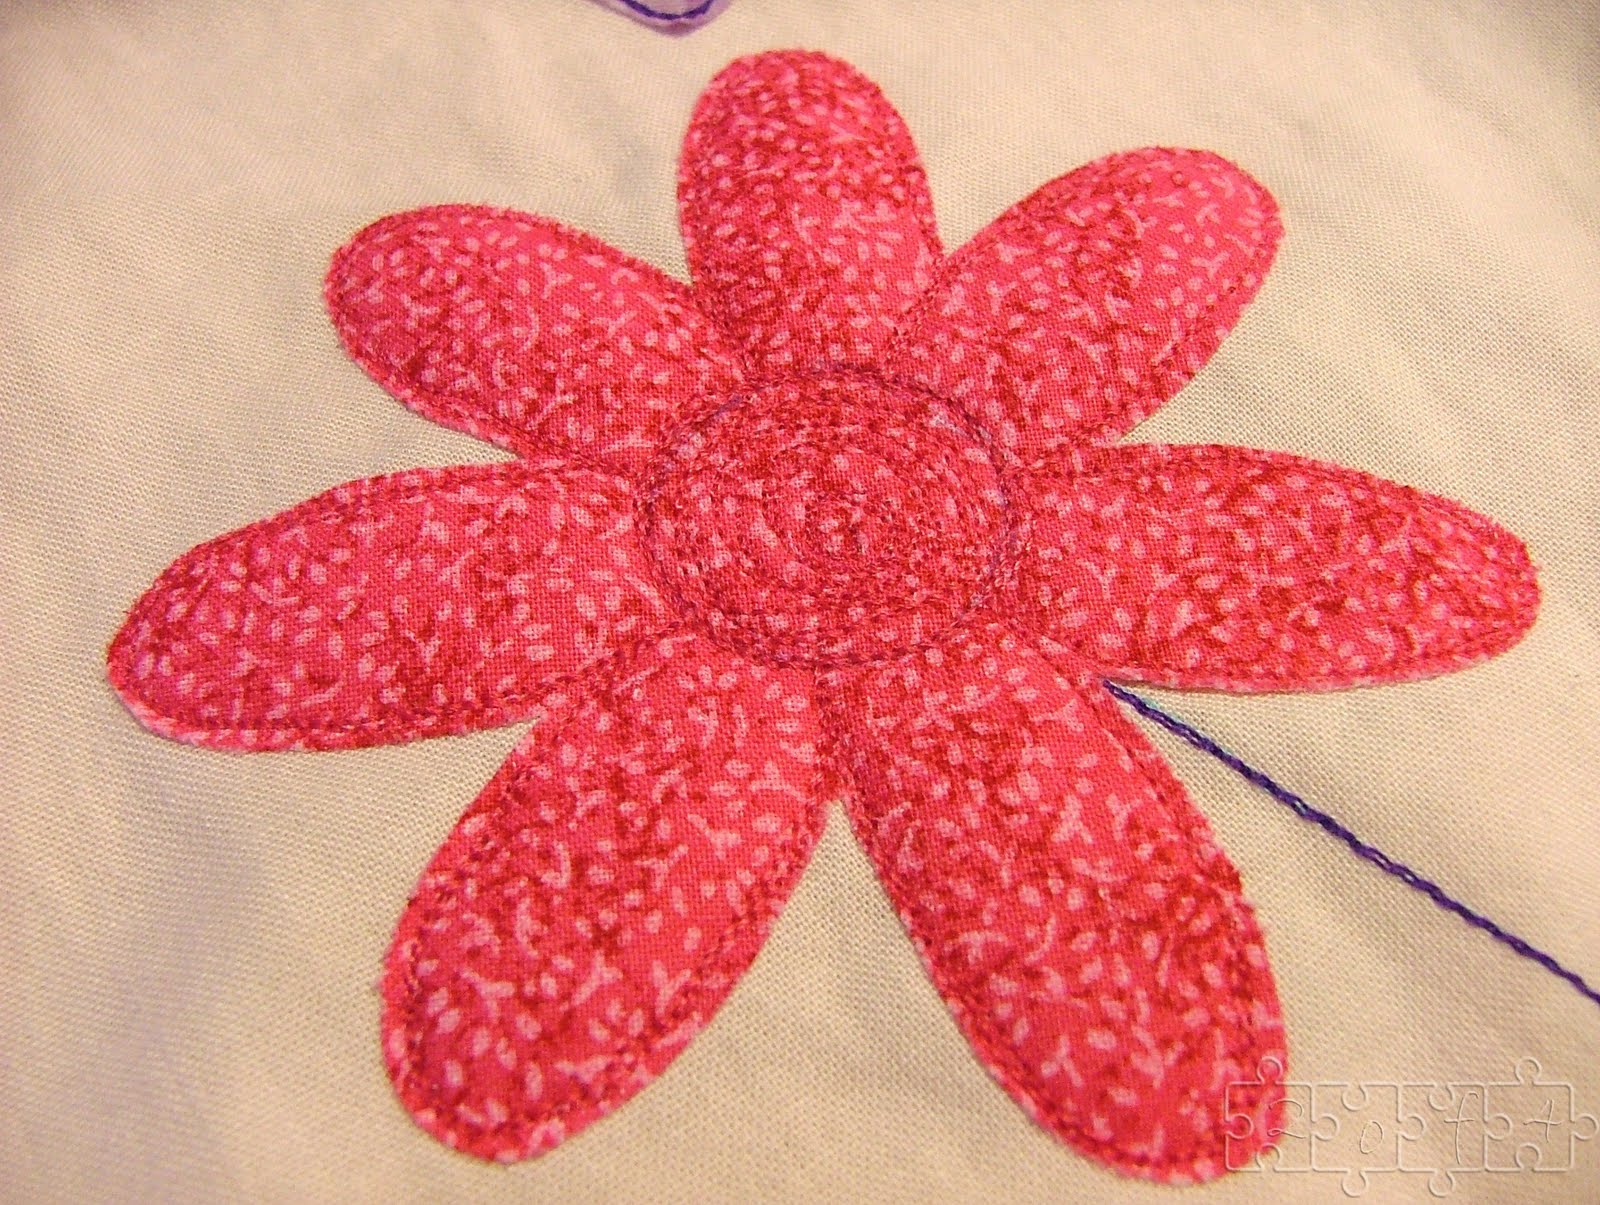
my craft blog where she saw quilts, craft aprons and this baby playmat.

This lead to her asking if we could make her a King Single quilt for her daughters bed with elements she saw on the playmat and an adjustable craft apron. I got started straight away on the craft apron, adding some changes she wanted like a heart shaped pocket and embellishing it with her daughters initial, A, which she wasn't expecting but loved, and we made our first sale!

As for the King Single quilt, we drafted a quote, complete with drawings of suggested quilt designs for her to chose from and add to or change around as she wanted. I don't know how other businesses would have structured their quote but I wrote it as though I was the potential client, i.e. including information and optional choices that I would want to discuss. We included a list of options to be decided on such as a colour palette and applique placement, construction details such as the finished size, what was to be done by machine and what by hand, and an approximate timeline for completion. And the price of course.

I know that a quote doesn't need so much detail and there was probably more information there than she would have asked for herself but felt it was important to include these details as a way to justify the cost. Rookie mistake? Maybe. Insecure? Absolutely. Did I need to be? Not at all. Part of what has stopped me from trying to sell things previously is that handmade can be and almost always is more expensive and I've always been worried that there is such a small market, how could I ever break into it. Well thanks to sites like etsy and madeit the market is rapidly growing, in fact it has been for some time now. And people do know the value of a handmade item and are willing to pay for it. I suppose it's like anything else, you won't know unless you try and all you need is faith in yourself. I can make beautiful, professionally finished items that I want in my home. Why wouldn't others want them in their homes too? And as our first big commission has proven, they do.

Thursday, April 21, 2011

Our first commission

We've sold our first item!! A personalised adjustable craft apron. The request was for a pink and purple apron with hearts and a heart pocket.

The hearts were first appliqued to the hot pink fabric and then a layer of PVC was added to the apron front. These two layer were bound with matching purple binding, incorporating the straps at the same time, and then the pocket was added.

The neck strap is a design of my own born from a need to have an adjustable apron which will fit my quickly growing Miss E for years to come and also be simple enough for her to be able to take off herself by simply undoing the velcro and pulling the straps.

The heart pocket was personalised by attaching a monogrammed letter and small heart by raw edge applique and then added to the apron to finish.

Our next commissioned item is a King Single Bed Quilt with co-ordinating pillow case and then some doll quilts to match.

Sunday, April 3, 2011

Miniature place mats, coasters and napkins

About a week ago I was wondering around aimlessly with one thought in mind "What can I make? What can I make? What can I make?" Desperately trying to get some inspiration I found myself looking in draws, under furniture, at the books on my book case, in the kitchen pantry (where I was delighted to find a stash of lollies) ... I finally gave up and my mind wondered off to how much fun I had at Miss E's birthday party playing with her new tea party set and how cute would it be if she had miniature placements so she could set up her kids table and have a REAL pretend tea party! So excited at the thought I rummaged through some material I bought about 2 years ago and found some with cup cakes printed on it - Perfect, Miss E would love it! I cut it out free hand, ironed the edges and made up two kids sized place mats.


I was so proud. I made them double sided ... so there is some thickness there and also they can be used on either side. When I gave them to Miss E and explained what they were she grabbed my hand and walked me over to her table and we had a tea party. As you can imagine I was tickled pink!!

Now I have gone back to make more but have found that the print is not straight grrr. I didn’t realise before because I cut the fabric fee hand, but when I try to cut it all "properly" measuring out the pieces to cut the print comes out uneven. So disappointing, however I am a great believer if something doesn’t fit properly it's meant for something else.

After discussions with M the place mat idea has evolved into a little kit of 4 place mats, 4 coasters and 4 napkins - all miniature size of course. So far I have cut out 2 sets of place mats and coasters and am in the process of pinning. The napkins will be done later as they will be made out of slightly different material and put together using a different process.


Project miniature place mats, coasters and napkins to be continued ....


S

Suddenly...

...the wheels are in motion....

We've been playing with the idea of starting our own business for a while now. The idea of being in control of our own efforts, of knowing that our work ethic will reward us rather than someone else and that we will directly reap the benefits for all our hard work, it's very seductive. And not at all impossible. I really believe that. So as well as chronicling our creative efforts, this blog will also tell the story of how we built our business - stumbles, fumbles and all.

For now the ideas are flowing, materials gathered and a date has been set. We make our debut in less than 3 months. Out of all the ideas for products that we have this will only represent a small part of what we want to do but I think it's perfect for a beginning and you've gotta start somewhere, right?

So, stay tuned. We're just getting warmed up.

Monday, March 21, 2011

The beginning

We have been planning to do this blog for a while, so what better way to start things off than by introducing ourselves. We are "M" and "S", the two bookends of four sibilings.

Ever since either of us can remember we have been creating, experimenting, imagining and finding more and more ways to entertain and express ourselves through arts and crafts.